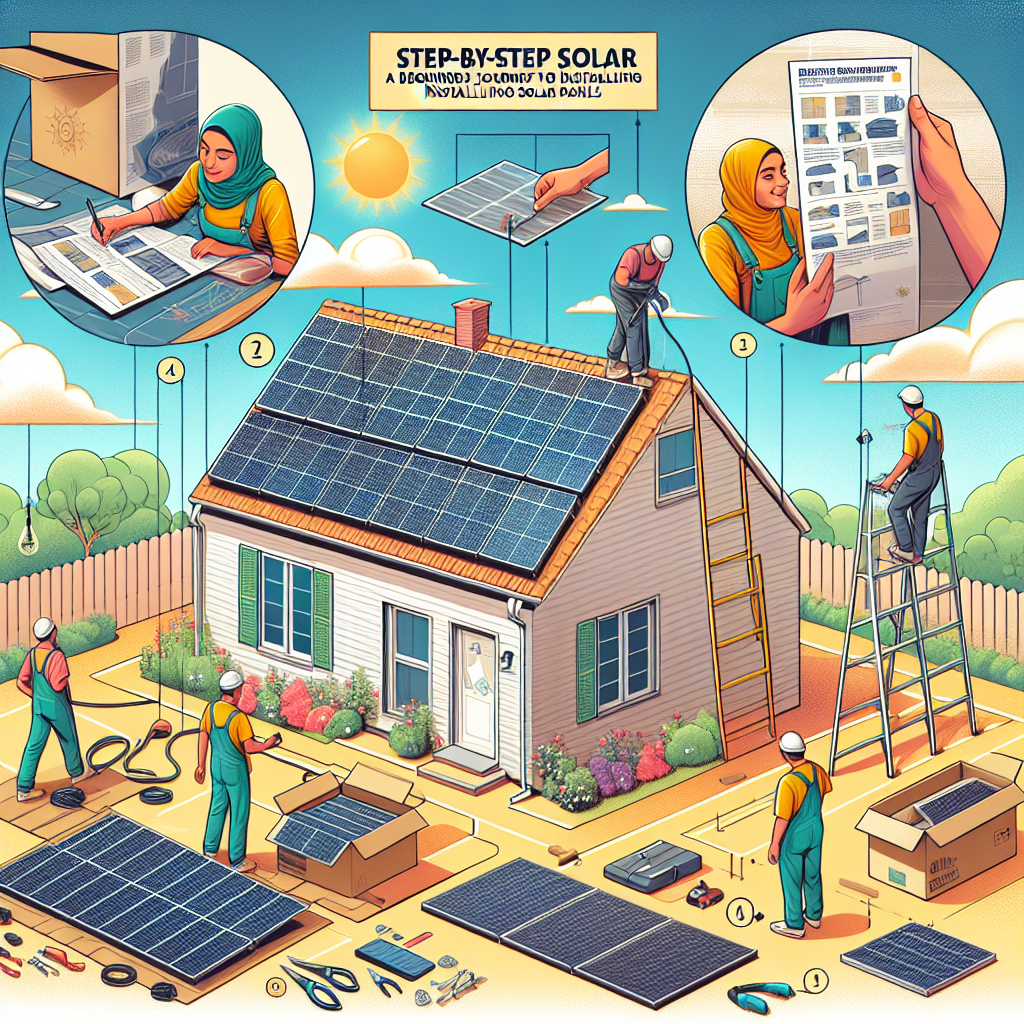
In an era where sustainability is at the forefront of global consciousness, many homeowners are considering solar energy as a way to reduce their carbon footprint and save on energy bills. However, the idea of installing solar panels can be overwhelming, especially for beginners. Fear not! This guide will take you through a step-by-step journey, ensuring you have all the knowledge you need to make that leap toward sustainable living.
Understanding Solar Energy Basics
What Is Solar Energy?
Solar energy is harnessed from the sun and converted into electricity using photovoltaic (PV) panels. This renewable energy source offers numerous benefits, including reduced electricity costs and a lower environmental impact.
How Do Solar Panels Work?
Solar panels consist of solar cells made from semiconductors, typically silicon. When sunlight hits the cells, it generates a direct current (DC). This DC energy is then transformed into alternating current (AC) by an inverter, which powers your home appliances.
Step 1: Assess Your Home’s Suitability
Evaluating Your Roof
Before diving into the installation process, assess whether your roof is suitable for solar panels. Consider factors such as:
- Roof Orientation: South-facing roofs generally receive more sunlight.
- Roof Angle: A pitch between 30 and 45 degrees is ideal, but panels can also be installed on flat roofs with additional mounting.
- Shading: Ensure no trees or buildings block the sun’s rays during peak hours.
Energy Needs Assessment
Analyze your utility bills to determine your average energy consumption. This information will guide how many solar panels you need to install.
Step 2: Research and Choose the Right Solar Panels
Types of Solar Panels
There are three main types of solar panels:
- Monocrystalline: Highly efficient and space-saving, these are made from a single crystalline structure.
- Polycrystalline: Slightly less efficient than monocrystalline, they are also more affordable.
- Thin-Film: Lightweight and flexible, these panels are best for unique installations but may require more space.
Compare Manufacturers and Products
Conduct thorough research to find manufacturers with good warranties, customer service, and reliable performance.
Step 3: Find a Reputable Solar Installer
Seek Recommendations
Ask friends and family for recommendations or search online for local companies with good reviews.
Get Quotes
Request multiple quotes from different installers to compare prices and installation conditions. Don’t forget to check their certifications and experience.
Step 4: Financial Considerations
Understand the Costs
The average cost of solar panel installation can be significant, but numerous financing options are available. Consider the following:
- Upfront Payment: Paying in full at the start.
- Financing Plans: Monthly payment options.
- Leasing: Pay a monthly fee to use the solar energy generated by the panels without buying them outright.
Incentives and Rebates
Research federal, state, and local incentives available in your area. The federal solar tax credit, for example, allows you to deduct a percentage of your solar installation costs from your federal taxes.
Step 5: The Installation Process
Preparing for Installation
Before the installation date, make sure your roof is clean and in good condition. Clear any debris and check for issues like leaks or structural integrity problems.
The Installation Day
The installation typically takes one to three days. On this day, expect the following:
- Mounting the Panels: The installer will securely mount the panels on your roof.
- Wiring: The solar panels will be connected to your home’s electrical system.
- Inverter Installation: The inverter will be placed in a location like your garage or basement.
After installation, the installer should conduct a post-installation walkthrough to explain the operation and maintenance of your new system.
Step 6: Enjoy the Benefits of Solar Energy
Monitoring System Performance
Once your solar panels are installed, monitor their performance through an app or web portal provided by your installer. This helps ensure they are functioning correctly and generating the expected energy.
Benefits Realization
Enjoy reduced energy bills, energy independence, and the satisfaction of contributing to a cleaner environment. Over time, your investment will continue to pay off while you contribute to global sustainability efforts.
Conclusion: Your Solar Journey Begins
Installing solar panels can feel daunting, but by following this comprehensive, step-by-step guide, you’ll be better equipped to transition to solar energy. Remember, taking this step not only benefits you financially but also contributes to a more sustainable future. Embrace the sun – your journey toward energy independence starts now!
Final Tips for a Successful Installation
- Stay informed: Keep yourself updated on solar technology and policies.
- Community Engagement: Join local or online groups to share experiences and gain insights.
- Maintenance: Regular cleaning and checks can optimize performance and longevity.
With the right preparation and knowledge, transitioning to solar energy can be a fulfilling and rewarding experience. Welcome to the world of solar!


